Tutorial: An Easy Pet Portrait in Pastel with Corel Painter
Originally Published September 2009
In traditional pastel portraits, a dark or middle-toned pastel paper with a sandpaper-like surface is often used. The color of the paper shows through the pastel when the paper “tooth” isn’t quite filled up with color. This is a big part of the characteristic look of pastels. We can duplicate this same effect in Corel Painter by using two layers: a transparent drawing layer on top of a pastel paper layer. This keeps the pastel colors from mixing with the paper’s color, allowing it to behave just like traditional pastel on paper. We’ll use the Sandy Pastel Paper texture for our transparent drawing layer. It really shows off the Pastel variants we’ll be using.
This method is fast. The secret is the first step, which uses the Digital Airbrush to clone in color from the original photograph. This forms the base color that you will add pastel line work to. The key is to not overwork it. You’ll paint just the major shapes in the fur, but it will look like you painted every single hair. Remember: in pastel, less is more!
Step One – Setup
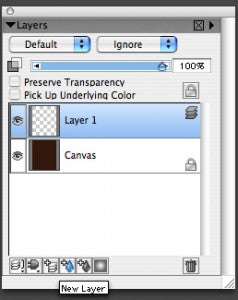
On the cloned copy, insert a new layer above the canvas.
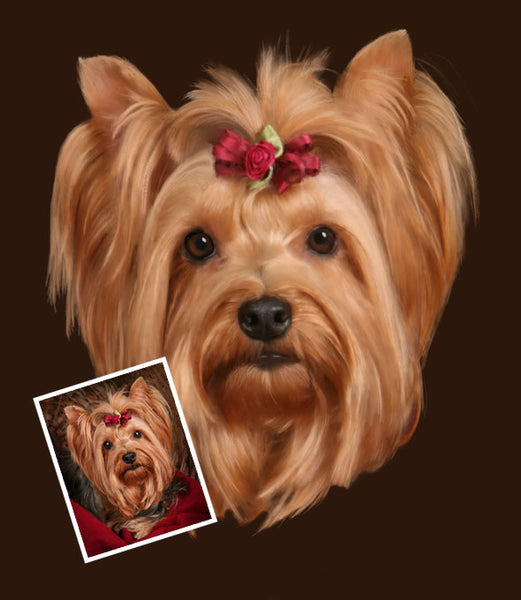
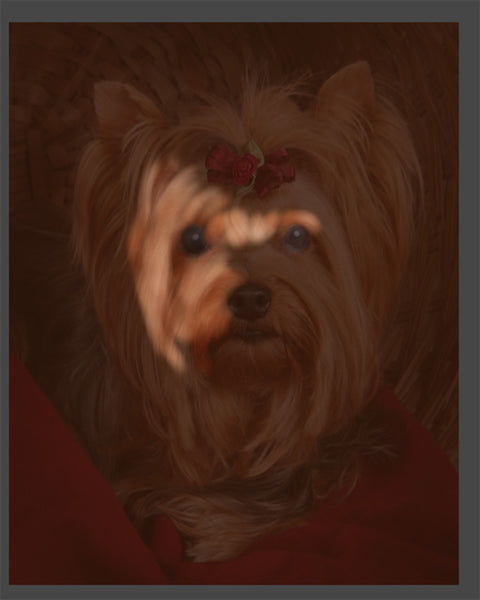
Begin by opening your pet photograph in Corel Painter. Go File > Clone, then Select > All, and hit Delete(Mac)/Backspace(Win). The Canvas layer is now blank. Choose a color for your paper. We went with a dark maroon that will show off the dog’s fur nicely. Fill the Canvas layer with this color (use the Paint Bucket, or go Effects > Fill > Current Color). Insert a new layer (click the new layer icon at the bottom of the layers palette).
Turn on tracing paper (Cmd+T(Mac)/Ctl+T(Win)), and adjust the tracing paper’s opacity to 80% (use the tracing paper icon in the upper right of your image). You should see the original photo faintly now against the dark maroon of the canvas. Make sure you have the New Layer selected before painting!
Step Two – Clone with Digital Airbrush
Choose the Digital Airbrush Variant, size 100, opacity 20%, resat 25%, with the clone color icon turned on. Paint with long, sweeping strokes, following the direction of the fur. Make sure you’re painting on the new layer, not the Canvas layer. Keep going until you have passed just once over every part of the dog’s head.
Don’t overwork it. You’re just painting a color base for the pastel. Here’s what you’ll have at the end of Step Two:

Step Three – Pastels
With the Sandy Pastel Paper active, choose the Square Hard Pastel, set at about 18% grain, 43% opacity. It should fill in most of the paper grain. Cloning in color from the original photograph, begin stroking over the large areas of color. Forget about details at this stage. You’re just building the base for now.

Step Four – Detailing
For the more detailed areas, like individual locks of hair, switch to the Sharp Pastel Pencil at 70% opacity, 21% grain. Use a fairly large size, somewhere around 30 or 40. Paint groups of hairs, not single strands. What we’re after is a feeling of fur, which is made up of shapes of color. Feel free to switch back to the Square Hard Pastel as needed. Here’s what it should look like about half-way through Step Four:
Step Five – Finishing Up
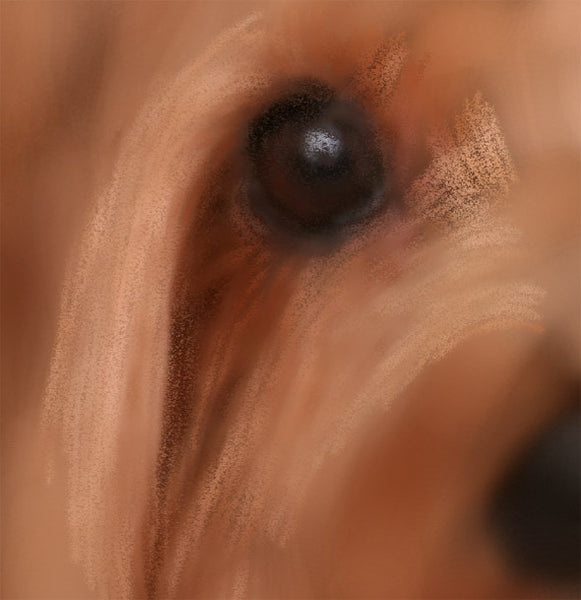
In traditional pastel, a blending stump is used to blend colors together. This fills in the grain of the paper, too, covering up the dark paper color. We’ll do the same thing using the Soft Blender Stump. For this, I like to turn Clone Color off, and choose colors with the eyedropper from the original photo. With a small size Soft Blender Stump (20 or less), go over the grainy pastel marks you made earlier, smoothing them and adding highlights as needed. To make the eyes pop, use the Soft Charcoal variant and enhance the brown of the iris. Blacken the pupil, and refine the catchlight.
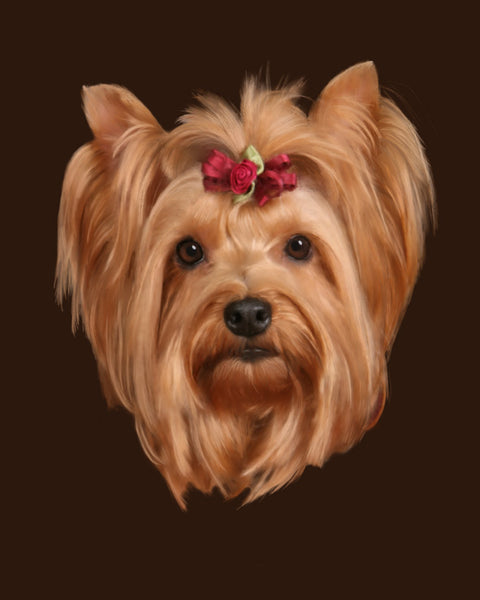
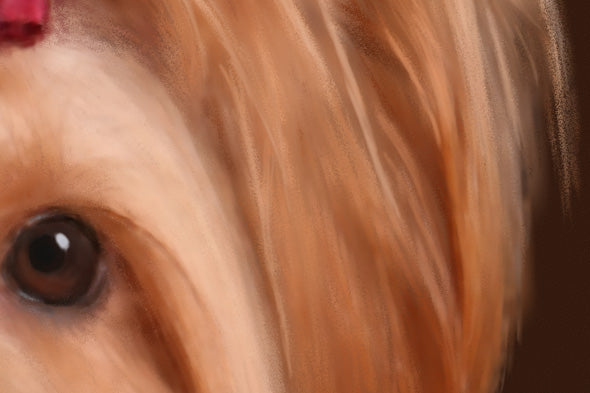
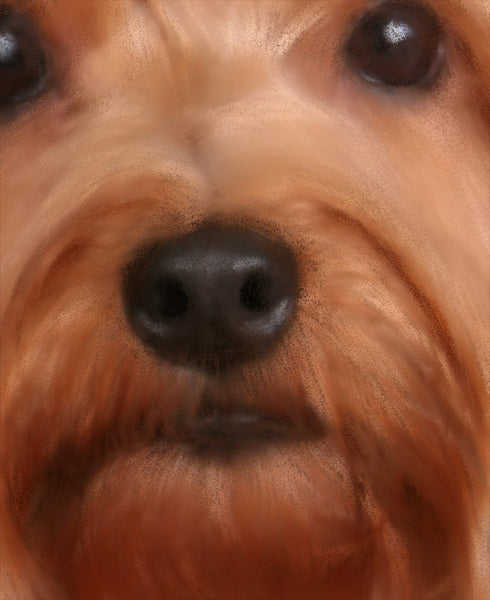
Finally, with the Canvas layer active, apply the Sandy Pastel texture (Effects > Surface Control > Apply Surface Texture. You’re done! When printed, your painting will look just like a traditional pastel (without all the dust!). Here’s a close-up: