
Tutorial: Engraving Designs in Stone with Photoshop
Originally Published July 2010
You may have noticed some digital paintings that have some very detailed passages in them, and thought: gee, that must have taken forever. Often, what you’re looking at was likely created using layer effects or a similar method. You can simulate some very complex textures very quickly, using Photoshop and some black and white line art. The engraved area above, for example, started out as a line drawing I found on the Internet. With Photoshop layer effects, I was able to create the detailed area above in minutes. The most common use for layer effects is adding drop shadows to type, or making type look three-dimensional. Today’s tutorial, however, shows a little-used method for achieving a carved or engraved look: the Lighting Effects filter. (By the way, you can see the full-size version of Merlin, along with other recent work, at my gallery on deviantArt: http://bnolin.deviantart.com/.)
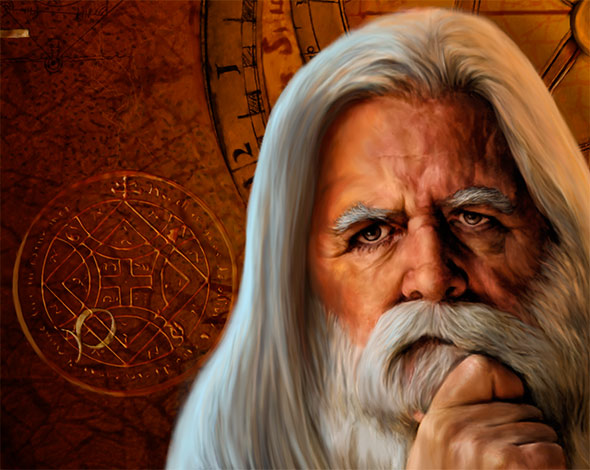
See the nice stone carving in Anne Stokes’s painting, above? In this tutorial, I’ll show you, step by step, how to achieve that look in your own work. There are many steps, but each one is simple. I just didn’t want anyone to get lost, and since there are a lot of little steps, there’s a bunch of screenshots. Don’t let them intimidate you, though. If you feel at all comfortable with layers, you’ll ace this. Let’s get going.
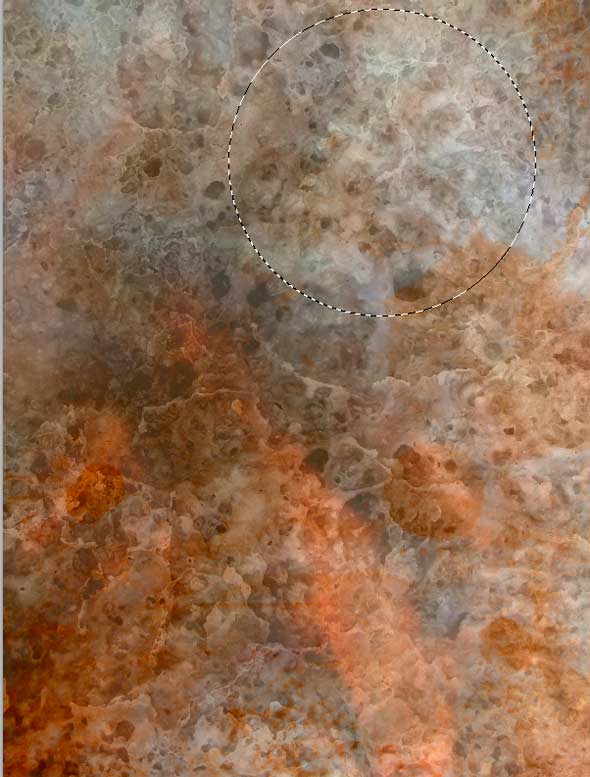
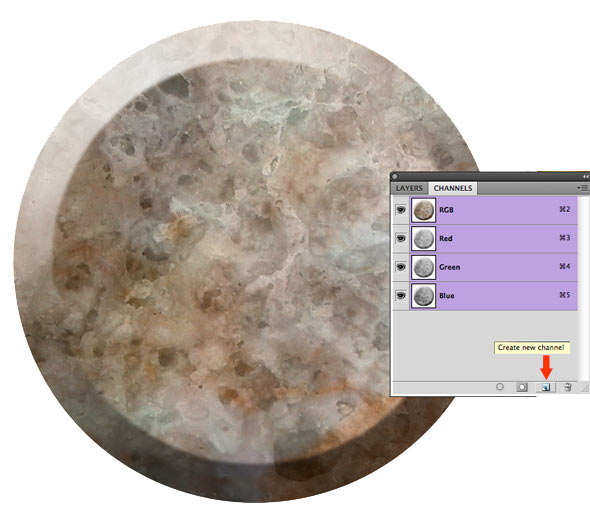
Open a good stone or smooth rock texture image. There’s a ton of good ones on deviantArt. Just do a search for “stone texture.” With the ellipse tool, draw a perfect circle selection (hold down the shift key while dragging). Copy it (Cmd/Ctl+C).
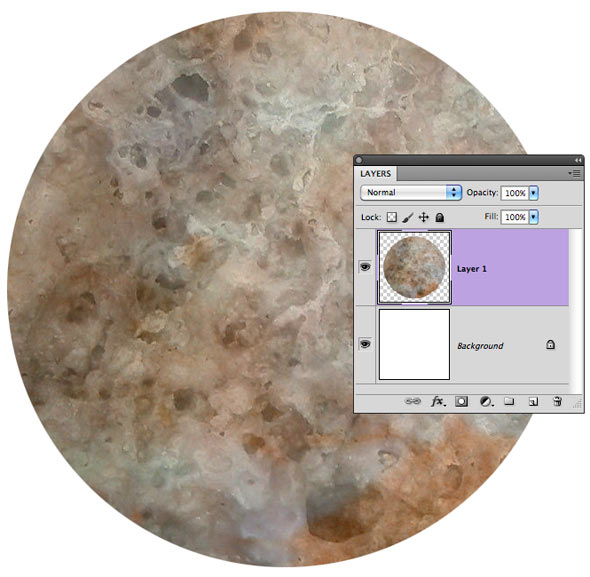
Create a new file (Cmd/Ctl + N). The new file dialogue comes up, and the sizes are based on the selection you just made. Add fifty or so pixels to each dimension, to give it some breathing room. Select OK. Then do Cmd/Ctl + V, to paste your circular selection. This creates a second layer with just the circular selection on a transparent (checkerboard) background.

Double-click on the top layer (the new one with your copied circle) in the layers palette to bring up the Layer Effects dialogue, as shown above. Click on Bevel and Emboss, and use settings similar to those you see here. This will create a beveled edge to the circle with shading and lighting.
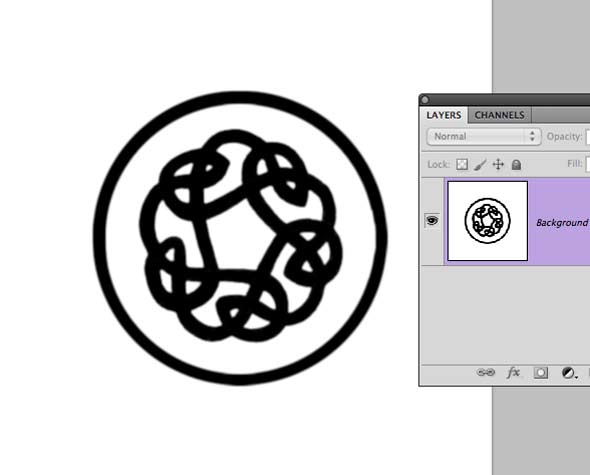
This is another file containing the line art I came up with for this lesson. You can use anything that fits inside a circle, as long as it is black on white.
Back on our stone circle, we need to open the channels palette. Usually it’s next door to the Layers palette, but if not, you can find it under the Windows menu. As you can see, in the lower right of the palette, there’s a icon to create a new channel. Click on it once. A channel is added, named Alpha1, and it’s completely black.
Make sure the new channel is active (highlighted) in the channels palette. Do Cmd/Ctl + A (select all). Make white your background color (hit the D key to reset the foreground/background defaults). Then, hit the delete or backspace key. This should replace the black with white. If not, use the handy paint bucket to fill with white.
Copy and paste your line art into the new channel. It’s just like pasting into a layer. Just make sure it’s active, and hit Cmd/Ctl + V.

When you clicked the “new channel” icon, it added a channel named Alpha1, AND it made your circular stone disappear. That’s because it automatically turned off (the eyes) next to the channels for your art. To make them come alive again, just click on the eye next to RGB. It should look similar to the above. Your Alpha1 channel line art is now red, and your stone is back.
My line art could use a little resizing. Right now, it’s dead center in the middle of the stone. I’d like to enlarge it without it leaving the center. Piece of cake. Go Edit > Transform > Scale. The resizing box with handles appears. Hold down the shift key (constrains to perfect circle) AND the Alt/Option key (keeps it centered). Now grab a corner handle and pull outward to make the line art larger.
Now, let’s return to the Layers palette. Please don’t stay on the Channels palette for this, or you’ll be cursing me and throwing things in a minute. Go back to the Layers palette and activate the stone layer. Are you on the Layers palette? Just checking. Okay, now you can open the Lighting Effects filter dialogue (Filter > Render > Lighting Effects).

This is the Lighting Effects dialogue, with suggested settings. You may find other setting work better for your particular stone. Notice one very important setting, down at the bottom: the texture is assigned to a channel, namely Alpha1, the one with your line art in it. In the preview window, you should see it engraving your stone. Checking the “White is high” on or off makes the engraving turn into embossing.

So here it is, ladies and gentlemen: our engraved stone. Doesn’t look quite as nice as Anne Stokes’s, though, hm? Why is that? If you scroll back up and look at her painting, you’ll notice that the carved areas are darker than the stone. We need to do the same thing to our stone.
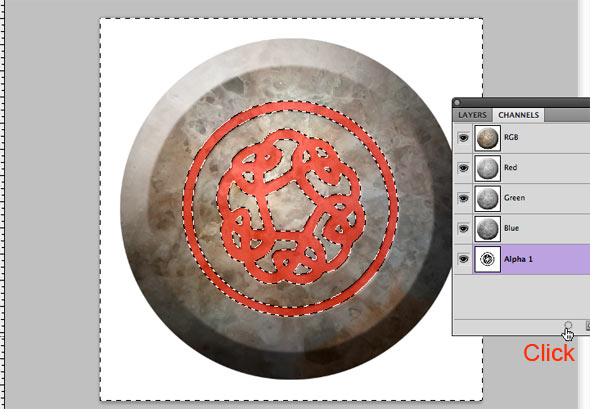
Okay, now we need to go BACK to the Channels palette. At the bottom, click on the leftmost icon, and the dancing ants will appear. Channels are where Photoshop stores selections, so we have activated the selection (the white areas) in our Alpha1 channel. This isn’t quite what we want, but we’re getting there.

To invert the selection, go Select > Inverse. Now the ants are dancing around the black line art. Let’s turn off the red from Alpha1: click the eye off next to that channel.

I really hope you are paying attention, because now we need to switch back to the Layers palette. Activate our Stone art layer again. Go to Image > Adjustments > Curves, and drag the curve down slightly to make the carved area darker. Make it as dark as you like. You can also use the Hue/Sat dialogue to change the color, if you like. I didn’t do that here.

And there we have it! A passable carved stone. For those of you willing to go just a bit further, here’s the extra credit assignment. This will make your stone look terrific. Terrifically old and moldy, that is. Insert a new layer on top of the stack. Find a good mossy stony sort of texture file (I have a big collection of such files). Copy and paste into the new layer, and set the layer blending mode to either Overlay or Soft Light. (see below).

If you stayed with me through to this point, give yourself a big pat on the back. Hell, go get yourself a double mocha latte or whatever. You deserve it. Because now you know how it’s done! Any question or comments, please let me know in the comments section below. Thanks for reading!

