

Tutorial: The Making of ‘Five Chicks Named Moe’
Originally Published May 2011
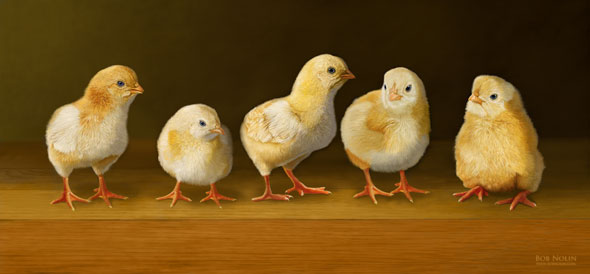
The painting above, “Five Chicks Named Moe,” took about three weeks to complete, working on it a few hours a day on average. I would guess that’s about 45 hours of work. I followed a fairly complex working method, and I’d like to share it with you today. This isn’t really a tutorial, but more of a “making of.” I won’t talk much about the actual painting. Instead, I’ll lay out the steps I took. You may find this method has some advantages for your own work.
The painting above, “Five Chicks Named Moe,” took about three weeks to complete, working on it a few hours a day on average. I would guess that’s about 45 hours of work. I followed a fairly complex working method, and I’d like to share it with you today. This isn’t really a tutorial, but more of a “making of.” I won’t talk much about the actual painting. Instead, I’ll lay out the steps I took. You may find this method has some advantages for your own work.
In a nutshell, I take a stock photo (this one, from Fotolia, in this case), create a black and white “underpainting” (a grisaille), and then paint on top of that until the grisaille is completely covered over. This is different from my previous hand-painted Photoshop works, in that I’m using a grayscale layer that becomes part of the final image. Previously, I’d use a line drawing layer for reference, and then delete it at the end. With this new method, I’m attempting to follow the Old Masters’ way of working, with a monochrome underpainting.
Grisaille (pronounced “griz-eye”) is a French word meaning “gray tones.” The advantage of starting with a monochrome underpainting is it allows the painter to establish the forms and values first, and then develop the color on top of that. More info available here.
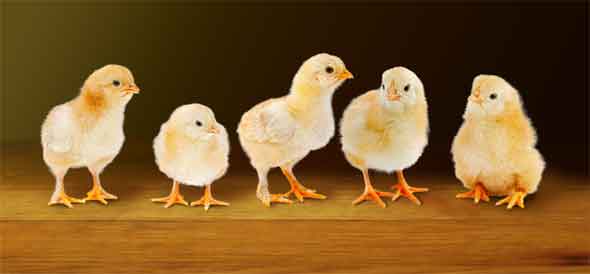
Step One – Topaz Adjust to add detail
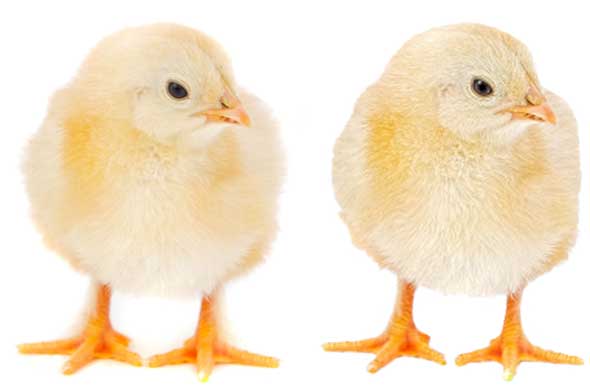
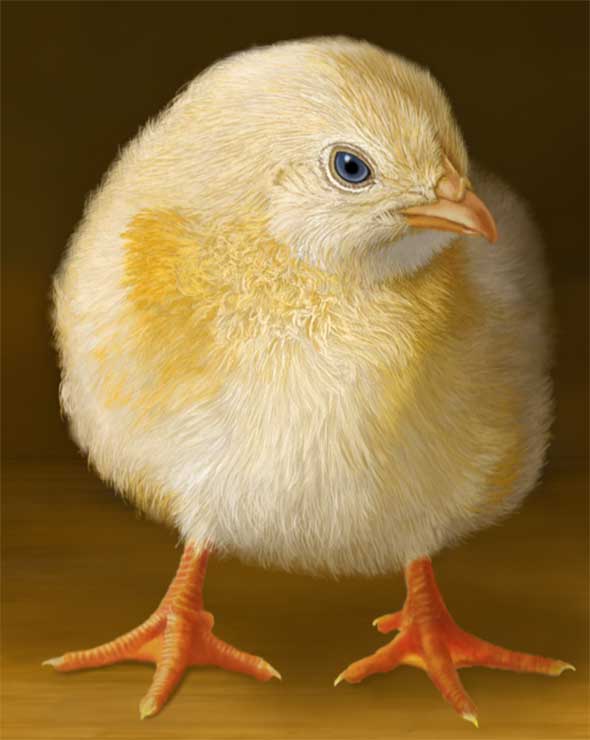
I use Topaz Adjust whenever I need to add some punch to a photo. After trying out several of the presets that come with Adjust, I went with the Mild Detail setting. The original photo is very high key, with very little variation in tone. It’s all bright. So the first step is to bring out detail that has been washed out by the bright, even lighting. My goal is to achieve a dark, chiaroscuro look, as though the chicks were painted by a Dutch master of the 16th century. As you can see above, Adjust brings out each individual feather, but the Mild setting doesn’t overdo it.
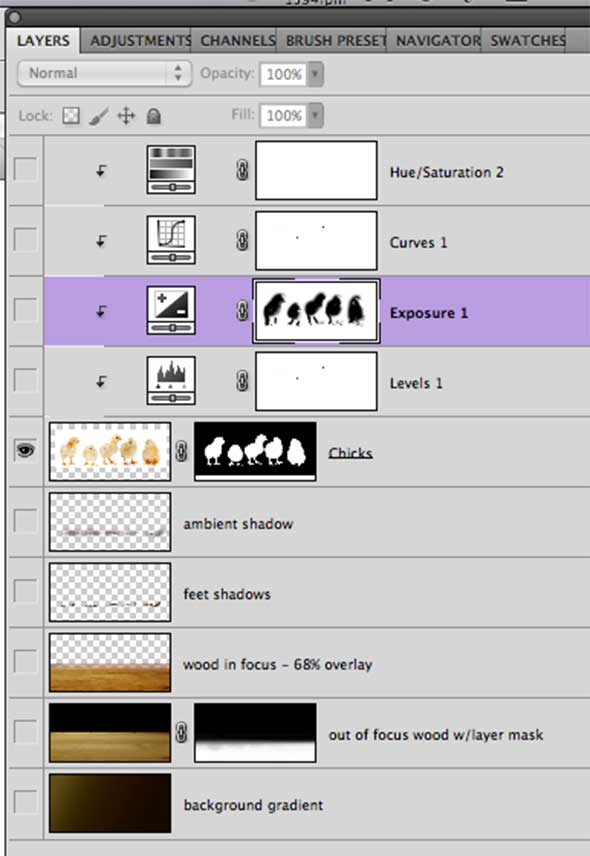
Before we go any further, let me show you where we’re going. Here’s what the layer palette is going to look like once we get through the next several steps. The layer with the chicks is in the middle of the stack. The background is below the birds, and the adjustment layers are above them.
Step Two – Create the dark background

The bottom-most layer in the stack is the Dark Gradient background. This is just a start, and we’ll paint over it later to make it look hand-painted, and not machine made.
Step Three – Give the chicks a table to stand on
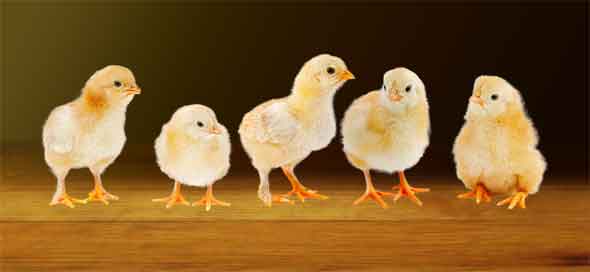
The wood tabletop is actually a photograph of an old drawing board. I used the Perspective adjustment tool to make the board look like it’s lying down (it was shot head on). Next I copy one layer, and blur it, set the blending mode to Overlay, and turn down the Opacity until the detail is softened but not eliminated altogether. Then I add a layer mask with a soft edge between black and white. This makes the far end of the table get darker. The layer mask allows the dark gradient to show through.
Step Four – Add shadows under the chicks
Add two new, blank layers. The lower of these layers will contain the blurry shadows cast by the bodies of the chicks. The upper layer will show the shadows cast by their feet. Use a large, soft airbrush at low opacity for the lower layer. For the feet, use a much smaller brush, at higher opacity. Paint right on the edges of their feet. Aren’t layers great?
Step Five – Add the adjustment layers
Now that the stage is set and the actors are in place, we’re ready to adjust the lighting. This is done with adjustment layers. As you can see in the Layers screenshot shown earlier, there are the usual Curves, Levels, and Hue/Sat adjustment layers. These make subtle adjustments. The star performer here, though, is the new Exposure adjustment level combined with a layer mask. Set the exposure setting so that the chicks are under-exposed (i.e., darkened). You will make them look like they are completely in shadow. Then you’ll reveal the light by painting on the layer mask. It’s like magic!
Step Six – Collapse all the layers and create the grisaille
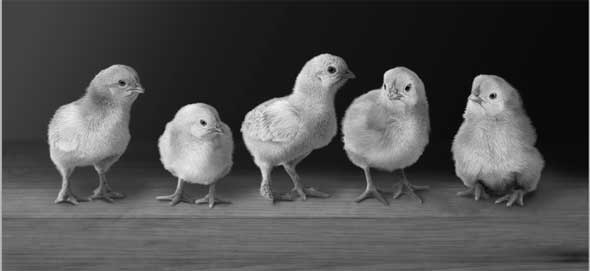
Save your work to this point; flatten the image, and save with a different name. Now we have our painting base. You could just use this as your starting point. If you like to work with the cloning tools in Painter, you could clone this file and begin to paint. But my goal is to try to emulate the Old Masters, so I go Image > Adjustments > Black & White, use the Auto setting, which creates my grayscale underpainting.
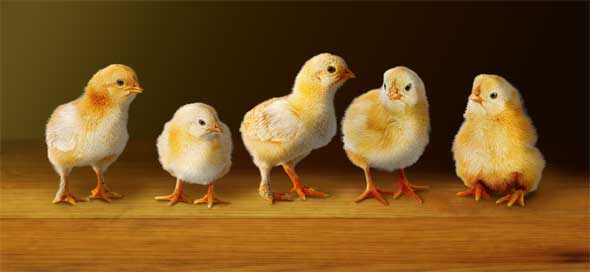
Step Seven – Add “glazes” of color
In traditional painting, thin glazes of color are applied on top of the underpainting. We can do something similar in Photoshop and/or Painter. Insert a new layer above the Grisaille layer, and change the blending mode from Default to Color. (In Painter, choose Colorize.) Now when you paint, you can’t cover over the greyscale; you can only “tint” it with color. This is similar to the hand-tinting of photographs which photographers used to do before the advent of color film. The Color blending mode allows you to paint as though you were laying in transparent washes of watercolor or acrylic, or oil glazes. The values of the grayscale interact with and alter the colors, as you will see. This hand-colored base is now ready for us to paint with opaque colors, in the next step.

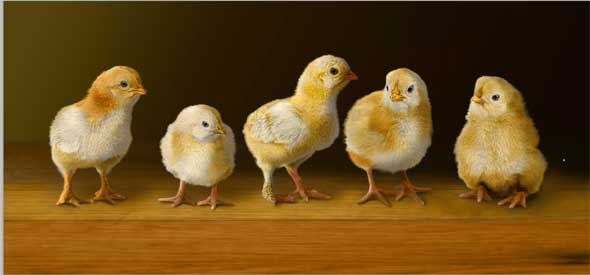
Step Eight – Opaque painting
To begin the next phase, insert a new blank layer as the top layer. Leave the blending mode and opacity as is (Default and 100%). Now here’s where the work really begins! All that has come before is really just preparation for the actual painting. No, I’m not kidding! The first seven steps should take an afternoon, give or take. It’s not very time-consuming; it’s just a lot to explain, a lot of details.
While painting, refer to the first file you created (the flattened, full-color one). I use the eye-dropper to sample colors from this base file, and then adjust them as needed. To cover the grisaille lines and tones completely, the paint will need to be quite opaque. However, I use many glazes of low-opacity color, which build up and eventually cover the greyscale image.
So that’s basically it. I hope you find this method helpful. At the very least, I’ve laid out one method of painting in the classical mode of the Old Masters. It’s been a fun experiment! I invite your comments and questions below, in the comments box. Thanks for reading!

