How do I use Lightroom to edit photos
How to Use Lightroom to Edit Photos: An In-depth Guide
Adobe Lightroom is a powerful photo editing software trusted by many professional photographers and enthusiasts. It offers an extensive suite of tools that can dramatically improve the look of your photos. Whether you're a beginner or a seasoned professional, this guide will walk you through the steps on how to use Lightroom to edit your photos.
Step 1: Importing Your Photos
Before you can start editing, you first need to import your photos into Lightroom. You can do this by:
- Clicking on the 'Library' module at the top right of your screen.
- Clicking on the 'Import' button at the bottom of the Library module.
- Navigating to the folder where your photos are stored, select the images you want to import, then click 'Import'.
Step 2: Culling and Organizing Your Photos
One of Lightroom's strengths is its robust organizing system. You can quickly cull (select your favorites) and organize your photos by:
- Using flags (Pick: P, Reject: X, Unflag: U) to select or reject photos.
- Using star ratings (1-5) or color labels to organize your photos further.
Step 3: Basic Edits in the Develop Module
Now that your photos are imported and organized, you can start editing. Go to the 'Develop' module, where you'll find a wide range of editing tools.
- Basic Panel: Here, you can adjust the temperature, tint, exposure, contrast, highlights, shadows, whites, blacks, clarity, vibrance, and saturation. Start with these basic adjustments first before moving on to more specific tools.
- Tone Curve: Use this tool to adjust the brightness and contrast in your photo. You can create a smooth curve for subtle adjustments or a steeper curve for more dramatic changes.
- HSL/Color Panel: This panel allows you to adjust the hue, saturation, and luminance of individual colors in your photo.
Step 4: Advanced Edits
Once you've made your basic edits, you can use the more advanced tools in Lightroom to further enhance your photo.
- Detail Panel: This panel contains the sharpening and noise reduction tools. Use these sparingly as overuse can make your photo look unnatural.
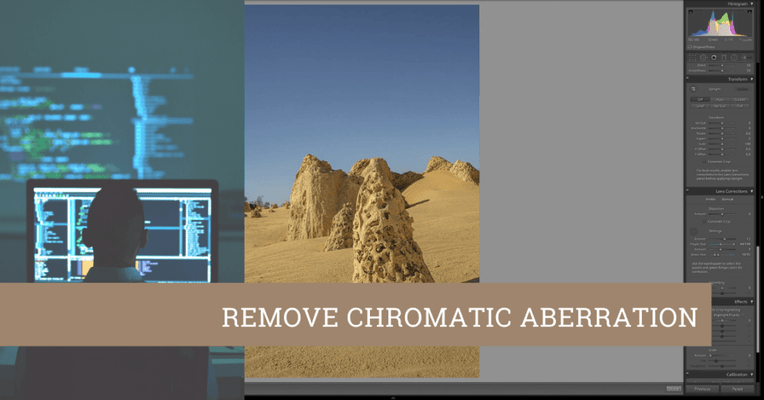
- Lens Corrections and Transform Panels: Use these tools to correct lens distortion, straighten your photo, or change the perspective.
- Effects Panel: Here you can add a vignette or simulate film grain.
- Local Adjustment Tools: These tools (Graduated Filter, Radial Filter, Adjustment Brush) allow you to make adjustments to specific parts of your photo.
Step 5: Exporting Your Photos
Once you're happy with your edits, it's time to export your photos. Click the 'Export' button in the Library module, choose your desired settings (file format, quality, location, etc.), and then click 'Export' to save your edited photo.
Conclusion
Adobe Lightroom is a versatile and robust photo editing software that, when used effectively, can transform your photos from good to great. Remember that it's always best to make subtle adjustments and to keep the photo looking as natural as possible. The key to mastering Lightroom, like any other tool, is practice. So go ahead and explore what Lightroom has to offer and enhance your photo editing skills.


